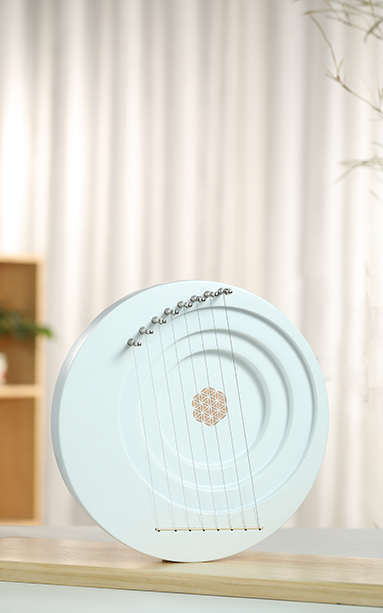
Lyre Tuning for Beginners: A Simple Step-by-Step Guide to Get You Playing
So, you've got a lyre and you're eager to start making music, but you're not sure how to get it in tune? Don't worry, you're not alone! Tuning a lyre can seem intimidating at first, but with this simple step-by-step guide, you'll be playing in tune in no time. Let’s dive in and make your lyre sing!
Tools You'll Need: Your Lyre Tuning Toolkit
Before we start, let’s gather our tools:
- Electronic Tuner: This is the easiest way to get accurate tuning. You can use a handheld tuner or a clip-on tuner that attaches to your lyre. It will show you if the string is too high (sharp) or too low (flat).
- Tuning Fork (Optional): A tuning fork gives you a reference note, usually an "A." You can use it as a starting point if you have a good ear.
- Smartphone Tuning App (Optional): There are many free tuning apps that can be helpful. Just make sure you use one that is accurate.
- Lyre Tuning Wrench (If Needed): Some lyres use a wrench to turn the pegs; make sure you know how to use yours correctly to avoid damaging the instrument.
Lyre Tuning Basics: What You Need to Know
What's the "Right" Note? Lyres have different tuning styles. Common ones include:
- Diatonic: Like a piano's white keys, great for familiar tunes.
- Pentatonic: Uses five-note scales, perfect for folk music or improvisation.
The "A" Note: Most tuning starts with the "A" note. In Western music, this is 440Hz, but some prefer a slightly lower pitch of 432Hz.
Conclusion: You Got This!
Tuning your lyre might seem daunting at first, but with these steps and a bit of practice, you'll soon be tuning it like a pro. Enjoy the process, experiment, and keep making beautiful music!


